After we finally closed on the house, we were eager to get started tearing things up. At the top of our list was to peel back the carpets and see what the floors underneath looked like…
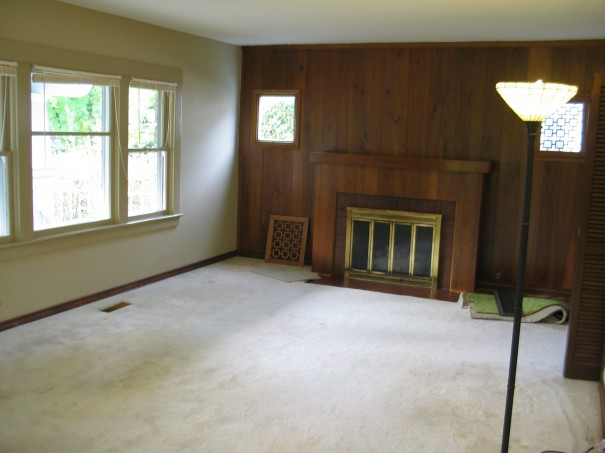
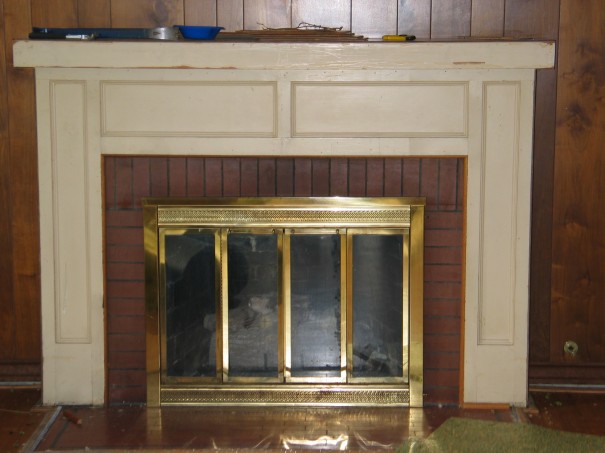
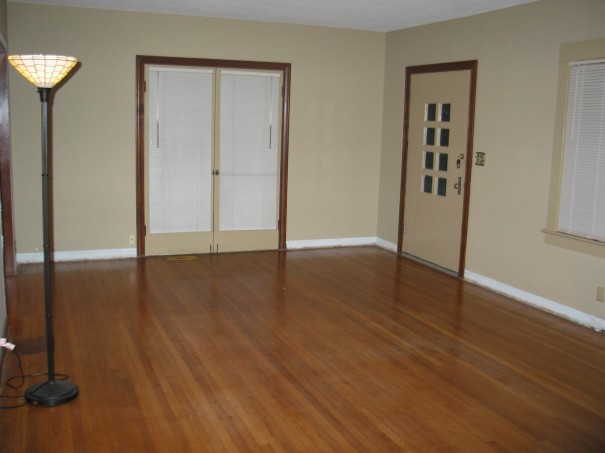
How it looked before we did anything…
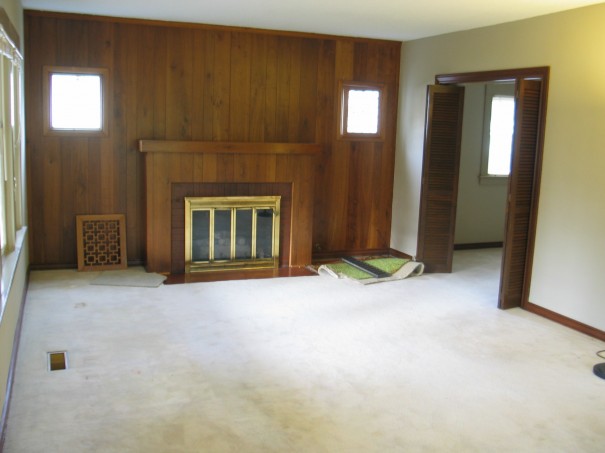
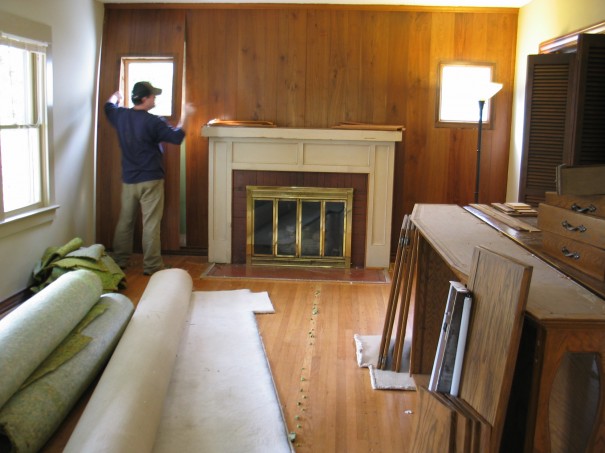
Carpets come up and wood paneling comes down…
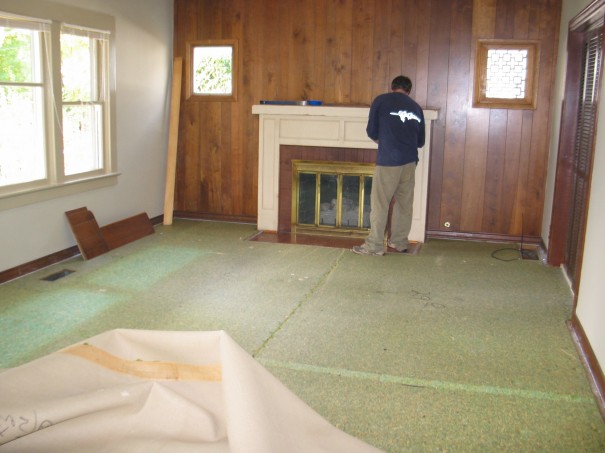
Once we got the carpets up, we tackled the wood paneling on the fireplace. It popped off pretty easily, revealing the gorgeous original woodwork and mantel complete with well-preserved recessed panels and molding. We were like kids on Christmas morning. Sure it needed some touching up, and there were lots of nail holes that needed to be patched, but it was a small price to pay. We’re not crazy about the brass fireplace surround, and that will be replaced at some point, but for now it’s functional.
When we pulled the paneling off the wall, we were excited to find the outline of the original trim around the two windows that flank the fireplace. It confirmed our hunch that all of the doors and windows once had the traditional craftsman trim bead detail running horizontally across the bottom of 1×6 header which is then capped with a lintel crown. The doors in the upstairs hallway were all finished that way, so we assumed everything downstairs originally had been too, but it was great to confirm it.
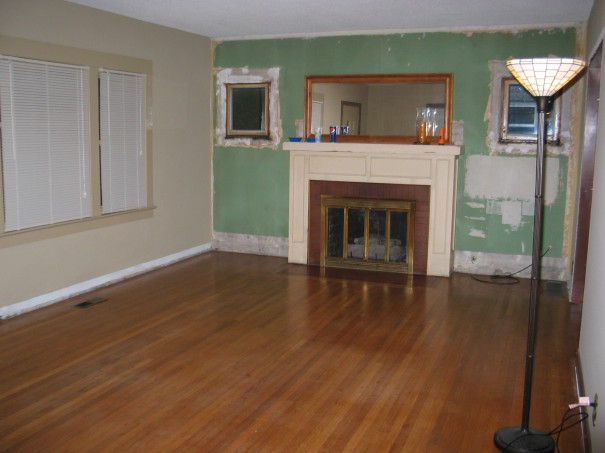
The living room was a home run! The carpets and pads came up pretty easily and our instincts were correct – the oak floors were in great condition, and still had a pretty nice sheen on them!
As we came to find out, pulling up the carpets and the pads was definitely the EASY part. Basically pull up a corner and then yank it back – the real labor intensive part is pulling out the thousands, yes thousands, of industrial staples that held down the carpet pad down. Now, you want to talk about a fun way to spend about a week? Not only is the sheer number of them daunting, but you’ve got to pull them out with pliers (needle-nose worked best for me), all while crawling around on your hands and knees for days on end. I swear, I still find a rogue staple every now and then in some obscure corner of the downstairs and it drives me nuts.
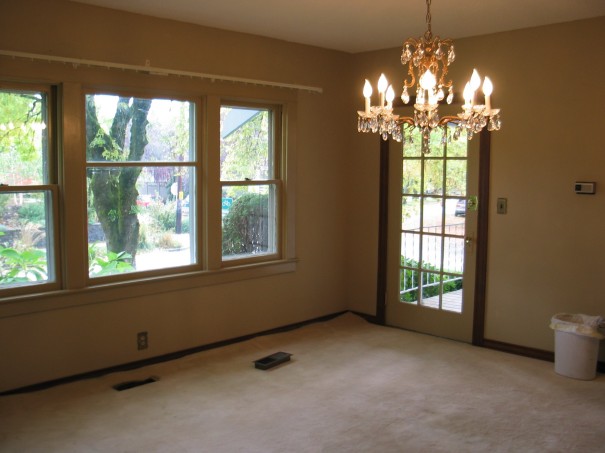
Dining room before…
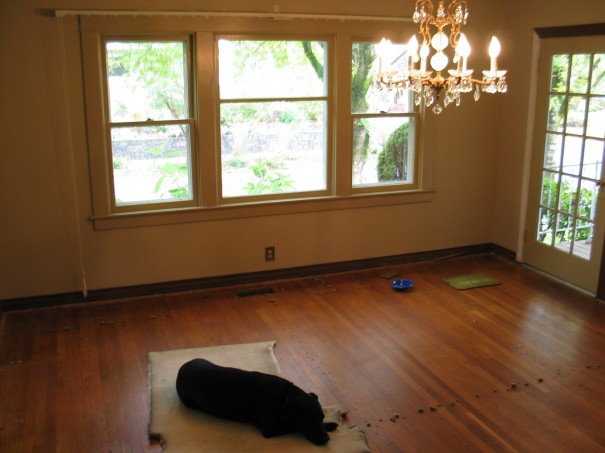
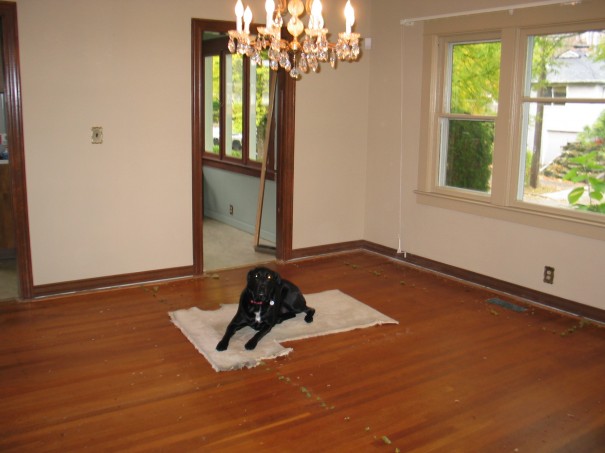
Our mascot supervises while relaxing on a carpet scrap…
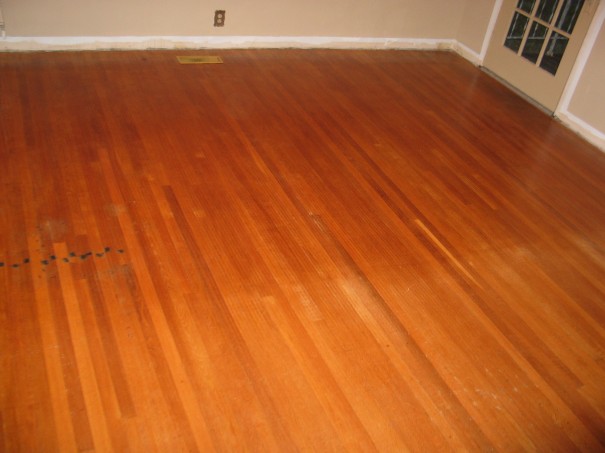
The dining room was also in good condition, with just one area where there appeared to be some water damage – most likely from a spill that wasn’t properly cleaned up that caused some of the carpet pad staples to rust (see below on left side of the image).
Yes, it does suck and it will drive you nuts, but the payoff is totally worth it. When we finally got all of the staples pulled, we started assessing what else, if anything, we needed to do to the floors. They weren’t perfect, and there were a few imperfections that you would expect from floors that were almost 100 years old, but as far as we were concerned, they were great. In fact, we felt that they didn’t even need to be re-sanded. All we ended up doing was buffing them up with a circular floor buffer and a finish enhancing solution that was recommended by a friend.