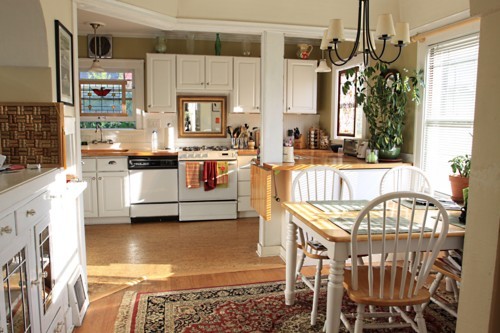
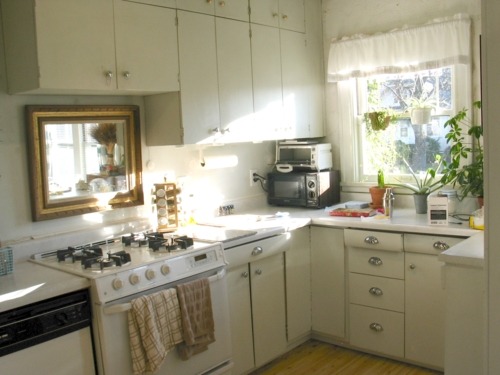
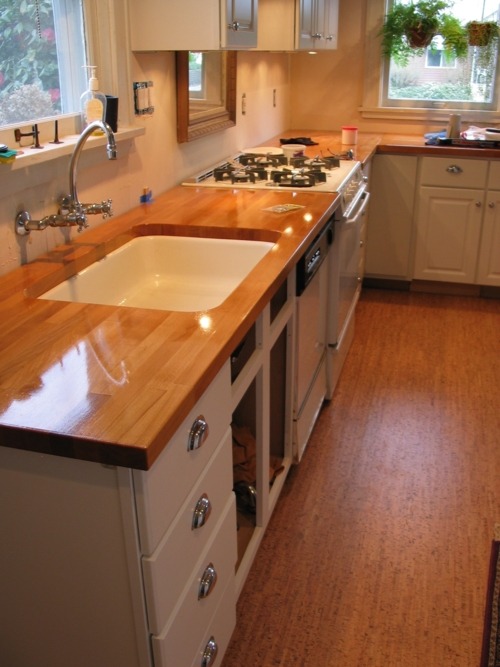
The bungalow that we’re currently restoring is actually the second bungalow restoration that we’ve undertaken. Our first was a 1927 English Cottage style bungalow, also in Portland. Below is a picture of the finished kitchen…
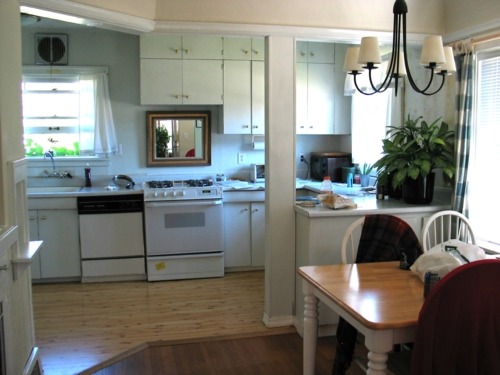
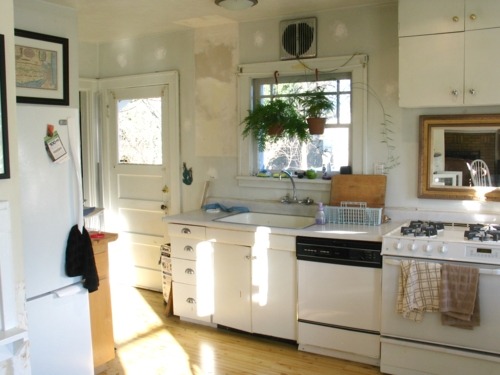
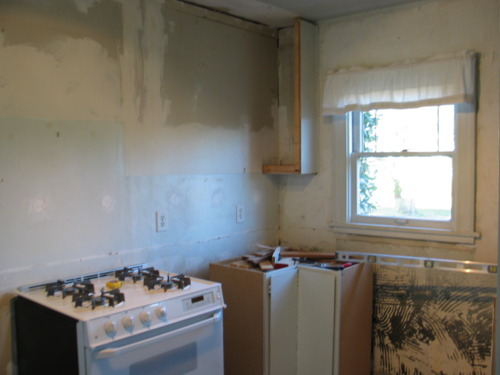
The house was in overall good condition, and while the kitchen was functional, it was rather tired looking and in need of a major overhaul (see below). The counters on either side of the stove weren’t level which gave the whole room a dilapidated undertone. The cabinets were pretty beat up and wreaked of poor craftsmanship, and the laminated knotty pine floors just didn’t work with the rest of the house. Below are some “before” pictures…
The plan was to maintain the same layout: the cabinets would be replaced with new white cabinets, the countertops replaced with 1.5” thick hardwood butcher block, and the laminated “wood” floors replaced with eco-friendly cork floors.
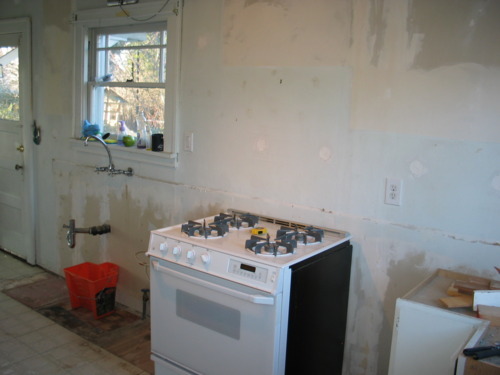
Now came the fun part – demolition! The counters were glued-and-screwed in so they took a little coercion, but nothing my handy pry-bar couldn’t handle.
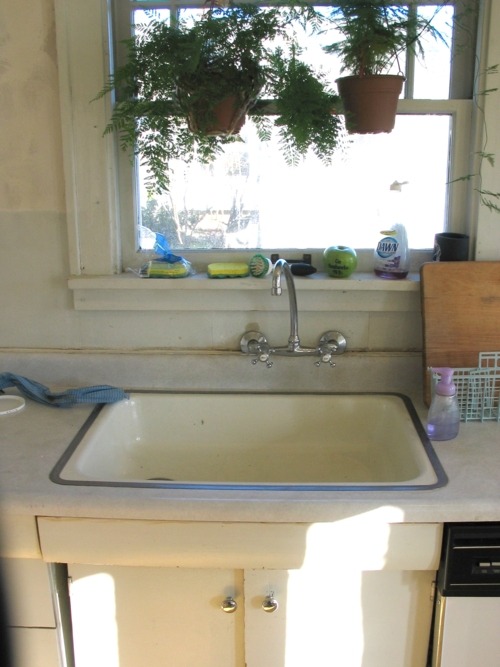

One of my biggest pet peeves about the old kitchen was how the sink wasn’t centered under the faucet and window (see above, left). Fortunately, the faucet was plumbed through the wall, so once all the cabinets were gone, I didn’t have to do any invasive plumbing re-work.
The cabinets were individual components that were screwed together, so while they came apart with relative ease, the harder part was wrestling them down to the floor by myself.
Once I laid out the height of the upper cabinets and drew a level line on the wall representing the bottom of the upper cabinets, I tacked up a 2×4 to align the bottoms of all the cabinets and give me something to rest them on as I installed them in place. I highly recommend installing your upper cabinets first, that way you’re not climbing all over your lower cabs and it gives you easier access in general.
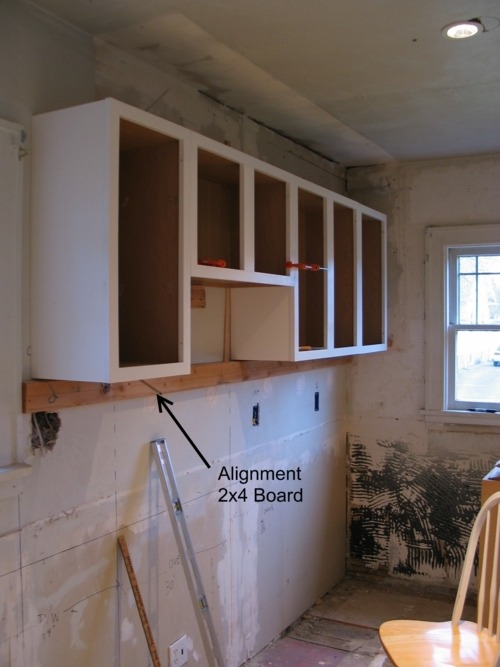
Once the uppers were in, I concentrated on getting the lower cabinets leveled properly. Most floors in older homes aren’t very level, and this house was no exception. When installing and leveling lower cabinets, make sure you start at your floor’s highest point – you can always shim up some cabinets to bring them up to the right height, but if you start at a low point, you’ll either have to trim off the bottoms of the some cabinets…or remove some of the sub-floor – either way it’s no fun!
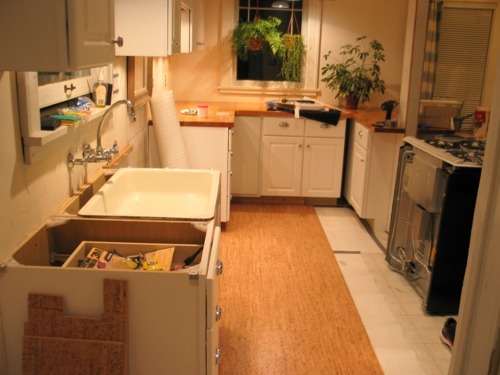
With all of the cabinets now installed, the countertops and floors were next. For the floors I chose a floating-floor cork floor called “Bambus” from Eco-Friendly Flooring. At $4.50 per square foot, it was a great choice for the environment and the wallet. It’s called a “floating floor” because it comes in 1 ft x 3 ft planks that click together and install right over your sub-floor or pre-existing linoleum floors (as in my case), and isn’t physically fastened to the floor below. There’s no glue or nails – an easy project for any DIYer.
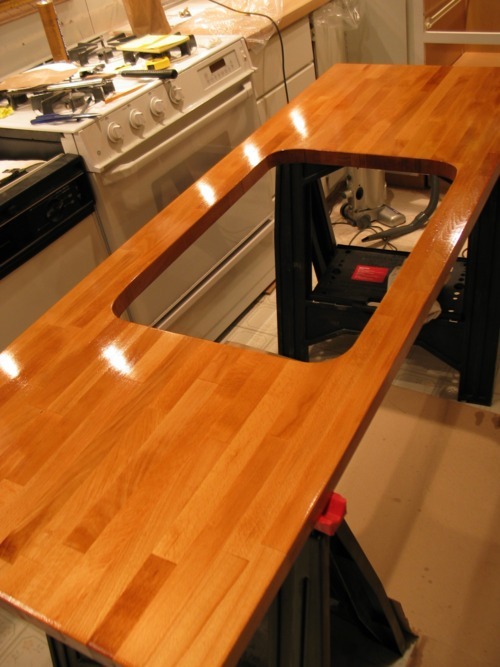
The part of the kitchen that really stands out is the hardwood butcher block counters. We went with a 1.5” thick Beech butcher block that is surprisingly sold at Ikea! They’re a little over 2ft wide and sold in 4ft, 6ft and 8ft lengths and very reasonably priced at $169 for an 8 footer! I was able to purchase all of the countertops for the whole kitchen for less than $500. They also come in oak and birch.
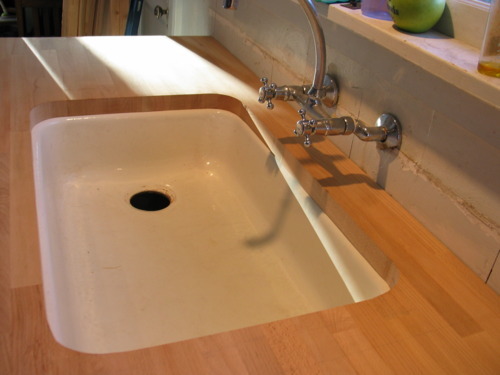
Cutting the counters to the proper length was pretty straight forward, but making the cut-out for the sink was a bit more challenging. After laying out guide lines for the hole in pencil, I made the straight cuts by plunge-cutting them with a circular saw. The corners were radiused to match the contour of my sink, so obviously a circular saw wasn’t going to “cut” it (Ha Ha).
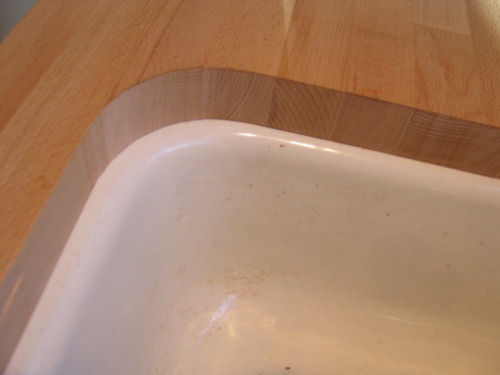
For each corner, I laid out the radius connecting the ends of the straight cuts I had just made, and used a jig saw to rough-out the corners – cutting about 1/16” away from my layout line. Once all four corners were cut, I removed the cut-out section, and used a router with a 2” straight bit to nibble away at the remaining material on each corner until the profile met my original pencil layout lines (see above).
I did a lot of research on how to seal and finish butcher block counters. I had no plans of actually using them to chop food on (that’s what cutting boards are for!), and I definitely didn’t want to have to keep re-applying a sealer every few years. I ultimately went with a great product called Waterlox – it acts as both a sealer and a finish and as their website says, “forms a protective yet elastic finish against common household spills and moisture”. I applied 4 coats of Waterlox Original, lightly sanding between each coat. The result was a medium gloss that’s neither too shiny nor too matte.
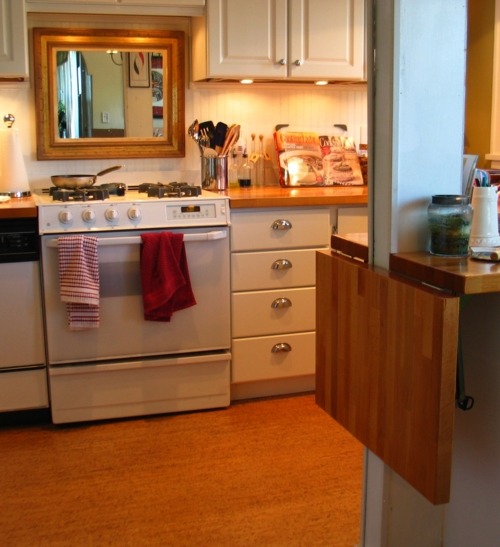
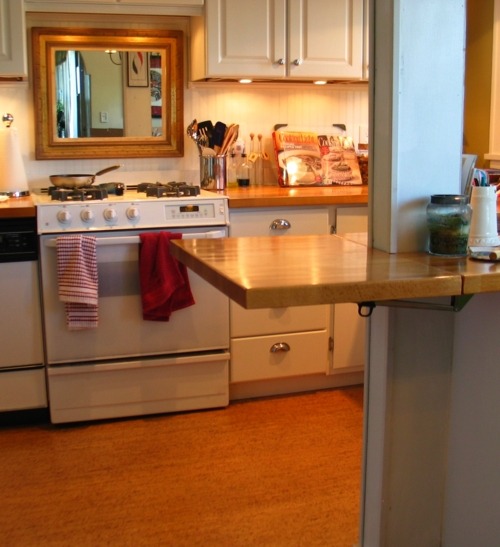
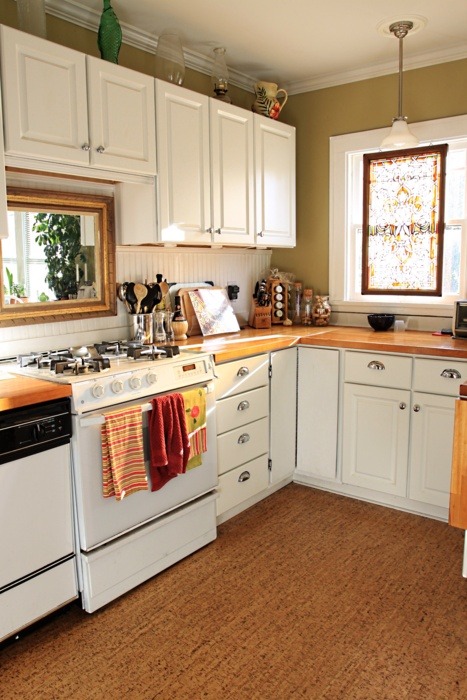
After all was said and done, I had some extra pieces of countertop that I decided to put to use. On one end, the counter terminates at a column, so I used that extra piece as an retracting extension that can be swung into (above right) or out of the way (above left) with a locking hinge.
Here are a couple pictures of the finished kitchen. For the backsplash, we went with the same style beadboard that is used in other parts of the house. All of the trim was painted Pure White and the walls are Ryegrass both by Benjamin Moore.